
TikTok Isn’t Done With Your CPU
Let’s clear the air for anyone who isn’t chronically online: Lynx is a cross-platform framework developed by ByteDance (the power behind TikTok). We wrote a hit piece covered it in #8.
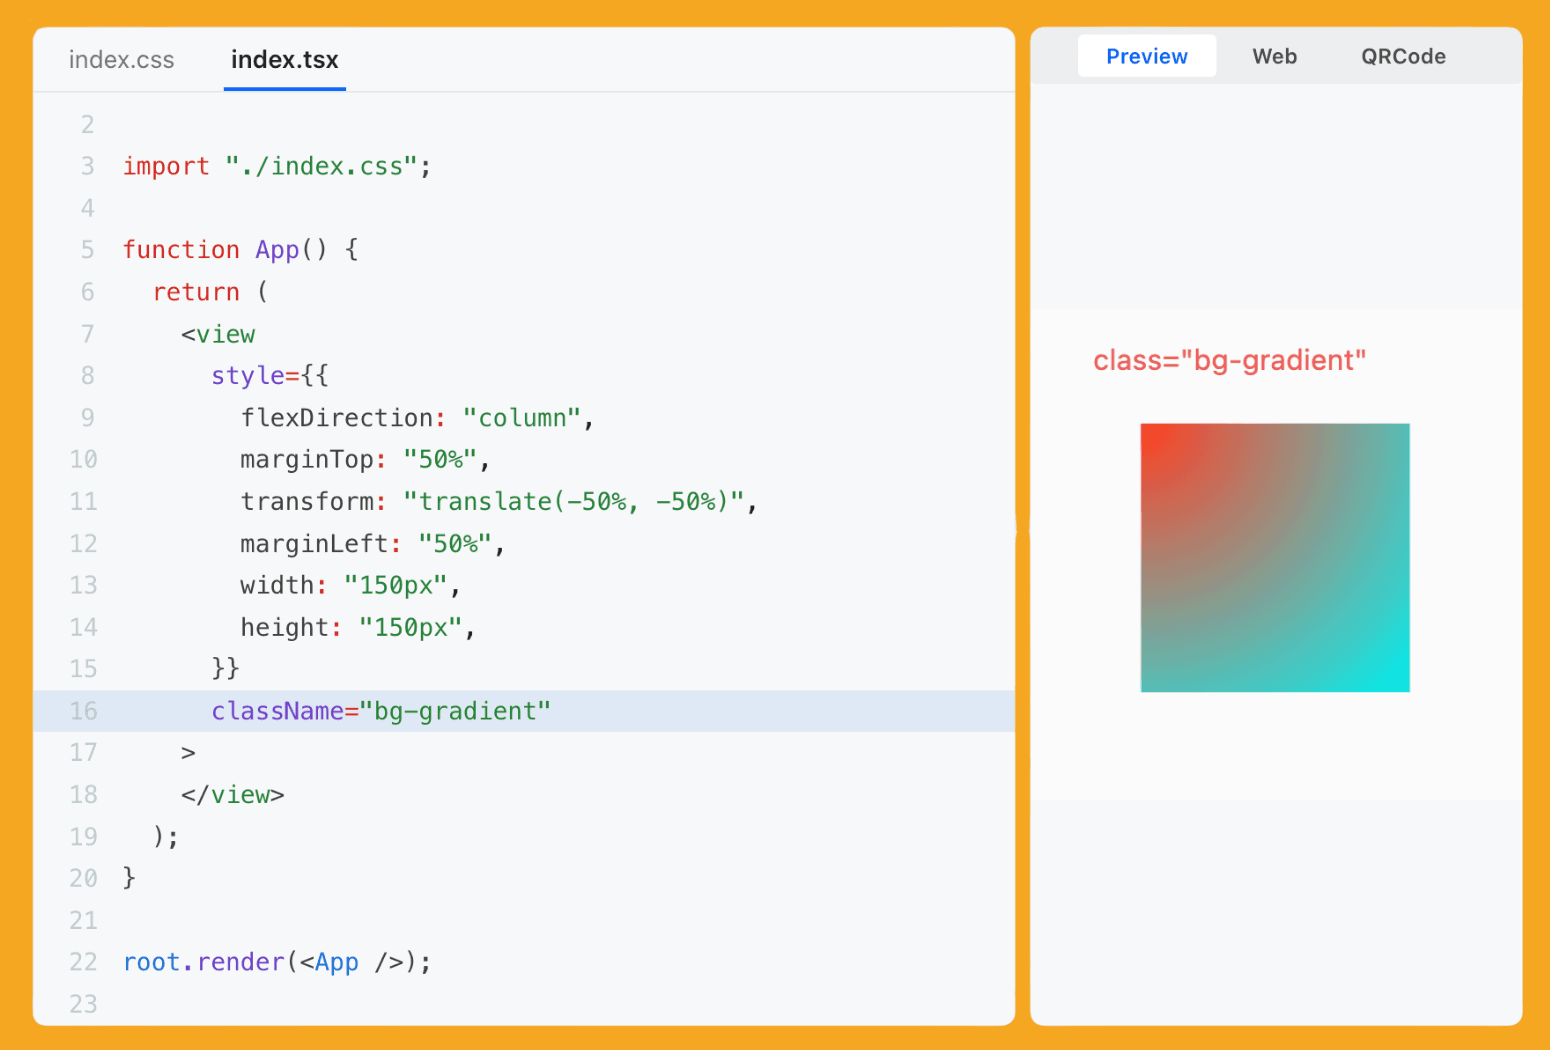
It allows developers to build mobile apps using familiar web technologies like HTML and "real" CSS—yes, actual selectors and variables—but renders them with native performance. Its main party trick is a dual-thread model that separates the UI from the background logic, meaning the interface stays buttery smooth even when the app is busy crunching data.
But what if you actually want to build an app, not just a single view?
The biggest hurdle with Lynx is that it’s designed as a "brownfield" engine first—meaning ByteDance expects you to already have a massive native app that you’re just dropping Lynx views into. If you try to start from scratch, you’re looking at a fun afternoon of manually wrangling Gradle files, editing Podfiles, and initialising the engine in your AppDelegate just to get a "Hello World" on the screen.
It's the kind of setup that makes you appreciate “npx create-expo-app” more than your first-born child.
That’s where Sparkling comes in. If Lynx is the engine, Sparkling is the chassis, the wheels, and the navigation system that makes the car actually drivable.
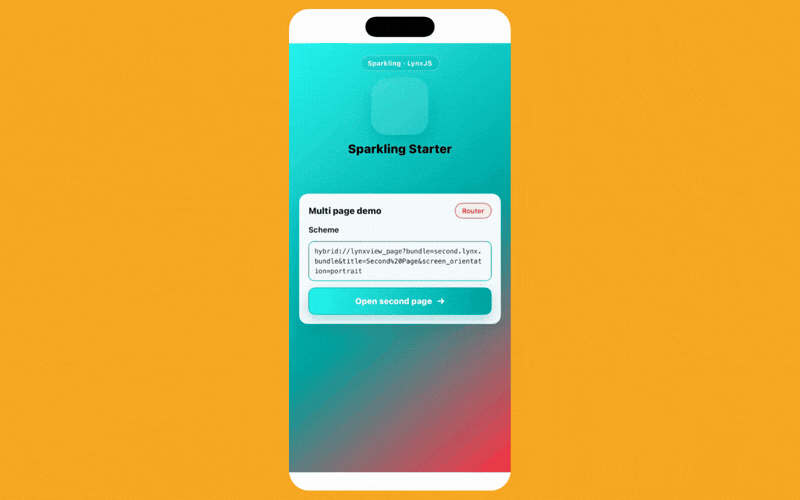
Think of it as the "standalone framework" layer. It provides the infrastructure needed to turn a raw rendering engine into a production-ready application without needing a PhD in build tools.
Starting a project is now a one-liner that should feel very familiar:
npx create-sparkling-app@latest my-new-tiktok-killer
It also brings the Sparkling Method—provides the JS-side pipe for JS ↔ native method calls between your JavaScript and the phone's hardware, ensuring that when you ask for a camera permission, the native side actually knows what you're talking about.
import pipe from 'sparkling-method'; // Callback style pipe.call('router.open', { scheme: 'hybrid://lynxview_page?bundle=main.lynx.bundle' }, (res) => { console.log(res.code, res.msg); } ); // Async style const data = await pipe.callAsync('storage.getItem', { key: 'token' }); console.log(data);
It comes bundled with Sparkling Navigation, Sparkling Storage, and Sparkling Media—now that’s a lot of Sparkles! These come as standard libraries to help you do things in Lynx, such as navigating, saving data, and managing media on the device with greater ease. These are all built on top of the Sparkling Method.
import { getItem } from 'sparkling-storage'; getItem({ key: 'token', biz: 'demo' }, (res) => { console.log(res.code, res.msg, res.data?.data); });
So, is it time to move to ByteDance-land? Probably not today. While the tech is impressive, the ecosystem is still in its "early days" compared to the decade of libraries we have in React Native.
👉 Sparkling ✨

99 Problems but a TestFlight Crash Ain't One
We’ve all lived through the specific brand of horror that is the "TestFlight Instant Death."
You build the app, it works perfectly on your machine (of course), you ship it to testers, and—poof—it crashes before the splash screen even fades. You rush to check the logs, only to find they’re more silent than a Slack channel when the CTO asks who wants to volunteer for the Sunday night on-call shift.
Sentry 8.0.0 release is a major milestone that improves how the SDK handles early-lifecycle crashes. It achieves this by using a sentry.options.json file, allowing the SDK to initialise before React Native starts.
// sentry.options.json { "dsn": "https://key@example.io/value" }
It also provides native methods for initialising Sentry on Android:
import io.sentry.react.RNSentrySDK class MainApplication : Application(), ReactApplication { override fun onCreate() { super.onCreate() RNSentrySDK.init(this) } }
And iOS:
#import <RNSentry/RNSentry.h> @implementation AppDelegate - (BOOL)application:(UIApplication *)application didFinishLaunchingWithOptions:(NSDictionary *)launchOptions { [RNSentrySDK start]; return [super application:application didFinishLaunchingWithOptions:launchOptions]; } @end
And of course, it provides an Expo plugin which does the same:
{ "expo": { "plugins": [ [ "@sentry/react-native/expo", { "useNativeInit": true } ] ] } }
By the time your app's JavaScript environment is even thinking about waking up, Sentry is already watching. It also includes improved automatic performance tracing, so you can see exactly which heavy dependency is strangling your app's startup time.
The upgrade does come with some breaking changes—mostly around renamed exports and the removal of deprecated transport options—but it’s a small price to pay for actually knowing why your app decided to commit seppuku on launch.

Stacked Like My Unwashed Laundry
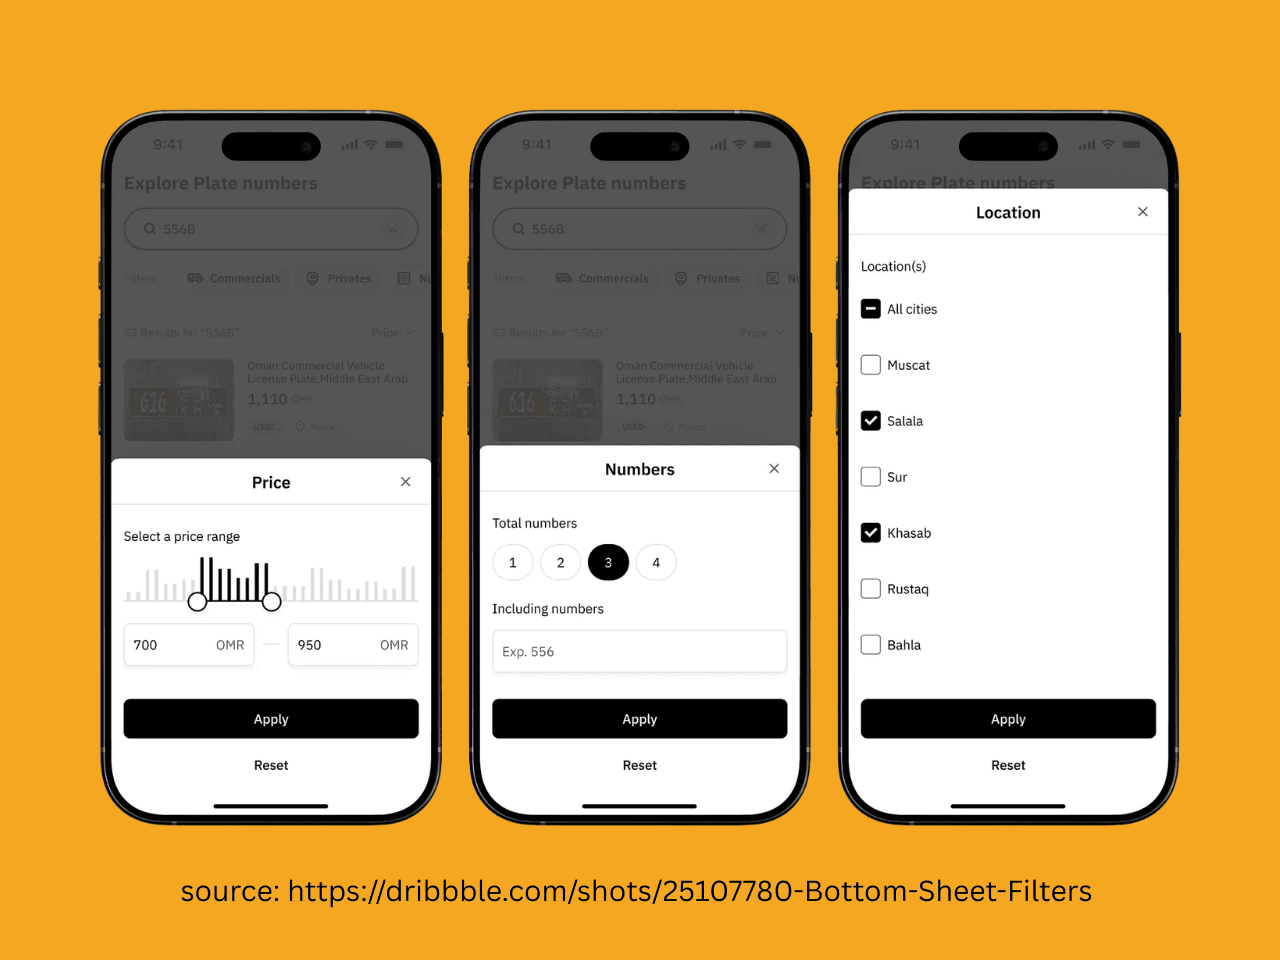
If you’ve been keeping an eye on the user experience ecosystem for a while, you probably seeing a rising popularity in multi-step bottom sheets—mostly in Crypto or Fintech applications.
Previously, doing this in React Native was incredibly manual and, honestly, a little messy.
You’d usually end up with a massive switch statement wrapped in a Context.Provider, trying to track which "step" the user was on while manually triggering height animations.
The standard navigation libraries don’t usually support this sort of embedded, "nested-in-a-modal" navigation without it feeling like you're fighting the framework.
@tsolfitsmexx has brought us React Native Bottom Sheet Stack, the first Stack that’s actually organised, unlike the pile of unwashed hoodies currently sitting in the corner of my room.
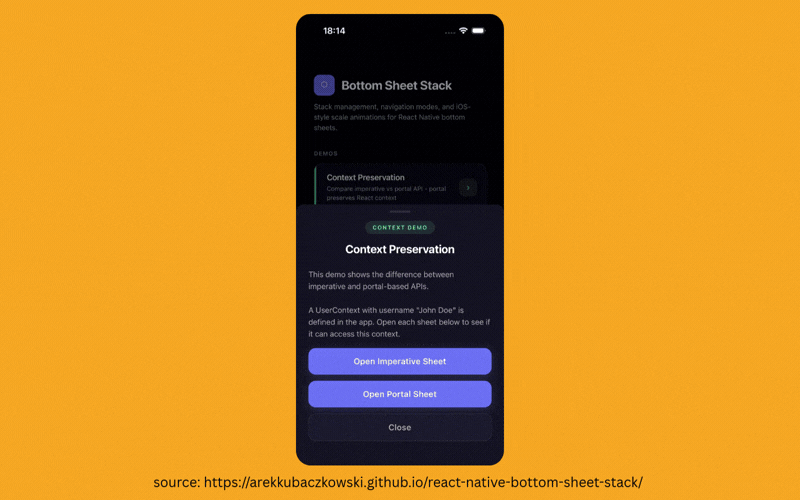
It’s exactly what it sounds like: a navigation stack, but inside a bottom sheet. It’s built on top of react-native-gesture-handler and react-native-reanimated, so it’s smoother than my pickup lines (which, admittedly, is a low bar).
The library is agnostic, meaning it doesn't care which modal library you use. It ships with built-in Adapters for the heavy hitters: @gorhom/bottom-sheet, react-native-modal and react-native-actions-sheet.
The API is refreshingly simple. You wrap your app in a BottomSheetProvider, and then use a hook to push new components onto the stack from anywhere. For the full setup, see Getting Started.
const { open } = useBottomSheetManager(); const handleOpen = () => { open(<MySheet />, { mode: 'push', // 'push' | 'switch' | 'replace' scaleBackground: true, }); };
It handles the layout animations and "mixed stacking" (opening a modal on top of a sheet) automatically. It means you can stop writing "if/else" logic for your modal content and start treating your sheets like actual first-class navigation citizens.
👉 React Native Bottom Sheet Stack