

March 2025 was basically the "Red Wedding" for mobile developers. Microsoft officially pulled the plug on App Center, leaving a OTA (over-the-air updates) shaped hole in our hearts and a lot of teams scrambling for a replacement.
For a while, it felt like we were headed back to the dark ages—waiting three days for a gatekeeper to approve a one-line styling fix.
To clarify some terminology, CodePush was a cloud service (originally from Microsoft App Center) that used over-the-air (OTA) update technology to let React Native and other apps push JavaScript and asset updates directly to users’ devices without going through the App Store or Play Store review process.
In this guide, we will introduce the new OTA feature by Bitrise called Bitrise CodePush. The main advantage of using Bitrise CodePush is that you may already be using Bitrise (an enterprise CI/CD solution) for CI/CD and release management.
They offer an absolutely insane free tier of 100,000 MAUs (Monthly Active Users); compare that to EAS Update, which has a free tier of 1,000 MAUs.
The first part of this article walks through Bitrise CodePush for Expo. This is useful if you want to understand the details of the setup or need a reference if things are not working. In the following section, we introduce a Bitrise CodePush agent skill so you can configure it directly with the agent of your choice.
If you want AI to do all the work and are only here for the skill, you can go straight there.
Bitrise CodePush for Humans
Bitrise CodePush is actually based on a fork of code-push-next. And if you don’t know what that is… well, why would you?
It’s the open-source version of Microsoft’s CodePush. So, if you were on Microsoft CodePush or running this library on your own infrastructure, this library allows you to use a verified and vetted set of patterns… anyways.
As with all great adventures, it starts with an NPM install:
npm install @code-push-next/react-native-code-push
If you are using a bare React Native integration, you will need to follow the instructions for iOS and Android. These instructions are lengthy, so we won’t get into them now. Though you can also use our Bitrise Codepush Agent Skill to do this for you if you are the "prompt and forget it" type.
If you are using Expo—good choice, you enjoy sleep and free time—there are also instructions to set up code-push-next as an Expo plugin.
[ "@code-push-next/react-native-code-push/expo", { ios: { CodePushDeploymentKey: process.env.IOS_CODE_PUSH_DEPLOYMENT_KEY, CodePushServerURL: process.env.CODE_PUSH_SERVER_URL, }, android: { CodePushDeploymentKey: process.env.ANDROID_CODE_PUSH_DEPLOYMENT_KEY, CodePushServerURL: process.env.CODE_PUSH_SERVER_URL, }, }, ], [ "expo-build-properties", { ios: { deploymentTarget: "17.0", }, }, ],
You’ll need to configure the Bitrise deployment keys and code push server URL. The workspace URL is fairly easy to get and you can find your workspace slug following this guide.
You’re probably also wondering...
What are IOS_CODE_PUSH_DEPLOYMENT_KEY and ANDROID_CODE_PUSH_DEPLOYMENT_KEY?
And, why are they in app.config, and where do they come from?
This brings us to Bitrise deployments, which are essentially environments.
Once you define a "deployment," Bitrise provides a key. You then set IOS_CODE_PUSH_DEPLOYMENT_KEY and ANDROID_CODE_PUSH_DEPLOYMENT_KEY in your environment file to point to the correct deployment (aka environment).
It’s important to note that deployments (cough… cough… environments) in Bitrise are tied to their corresponding app configuration. Since iOS and Android require separate app configurations, you’ll need to set up your deployments i.e. “Development”, “Staging”, “Production” or whatever seven-config environment mess you have, in both apps.
You can follow this guide to create your deployments; we recommend creating "Development", "Staging", and "Production". Once you have created your deployments add IOS_CODE_PUSH_DEPLOYMENT_KEY and ANDROID_CODE_PUSH_DEPLOYMENT_KEY to your .env :
# .env.local IOS_CODE_PUSH_DEPLOYMENT_KEY=... ANDROID_CODE_PUSH_DEPLOYMENT_KEY=... CODE_PUSH_SERVER_URL=https://<workspace-slug>.codepush.bitrise.io
Now that Bitrise is set up, it serves as your infrastructure. Standard code-push-next rules apply, so if you are migrating from or have used Microsoft CodePush, this will look very familiar.
Essentially, you wrap your root app in a codePush function:
import codePush from '@code-push-next/react-native-code-push'; export function RootLayout() { return ( <Stack> <Stack.Screen name="(tabs)" options={{ headerShown: false }} /> </Stack> ); } export default codePush({ checkFrequency: codePush.CheckFrequency.ON_APP_RESUME, })(RootLayout);
This allows you to define the check frequency, which can be set to ON_APP_RESUME, ON_APP_START, or MANUAL. Choosing MANUAL allows you to manage CodePush synchronisation via the sync method:
const MyApp = () => { const onButtonPress = () => { codePush.sync({ updateDialog: true, installMode: codePush.InstallMode.IMMEDIATE, }); }; return ( <View> <TouchableOpacity onPress={onButtonPress}> <Text>Check for updates</Text> </TouchableOpacity> </View> ); };
Then once you are ready you need to bundle your app and upload it to Bitrise CodePush, to do this you need to pull out the archaic react native bundle command:
npx react-native bundle \ --platform ios \ --dev false \ --entry-file index.js \ --bundle-output ./build/main.jsbundle \ --assets-dest ./build
And for Expo:
npx expo export:embed
Then once that is bundled you should zip the bundle with:
zip -r update.zip ./build
And upload it to the Bitrise server.
Bitrise CodePush for Agents
Now, you’re probably thinking, "Guys, it’s 2026—this setup feels awfully long and a little painful, and uploading the bundle and connecting the API feels... a bit... janky."
Well, we decided to solve this in 2026 fashion, so you can have your Bitrise pricing and CI/CD without needing to give up on DX.
How, you ask?
Say hello to the Bitrise CodePush agent skill.
Which you can find in our react-native-agent-skills repository. For those who may not be aware of agent skills, they are essentially a set of instructions, commands, and assets that your AI tool can use to streamline integration with a specific tool or set of tools.
They outline the correct way to do something so your AI doesn’t just make something up.
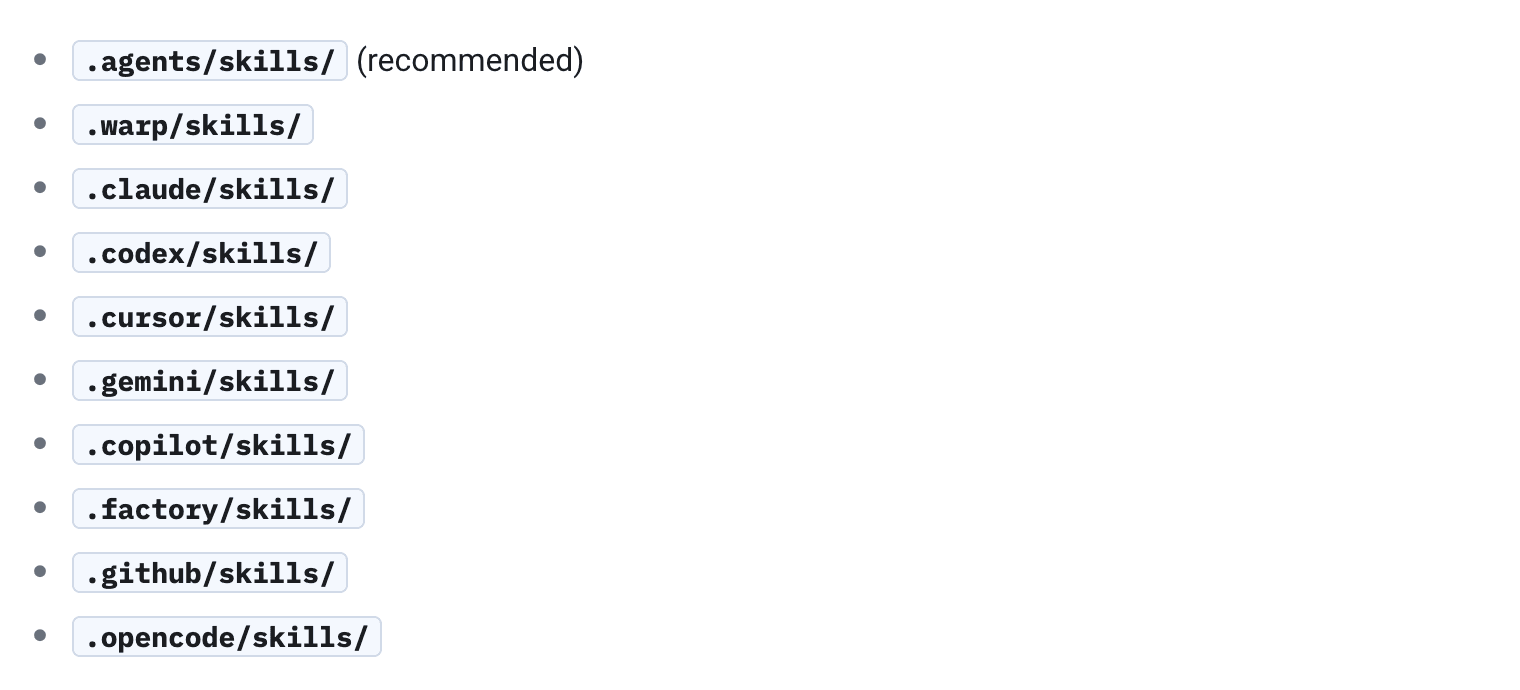
They are easy to integrate. Depending on your IDE, it usually means configuring them at a project or root level, such as ~/.cursor/skills/ (for root level) or .cursor/skills/ (for project level). You can configure skills per IDE, such as .warp/skills, or you can configure them under .agents/skills/ so they are IDE-agnostic.
In this particular case, you want to clone the react-native-agent-skills repository and then copy the /bitrise-codepush directly into your /skills directory.
Alternatively you can use npx skills for installing and managing your skills —whatever floats your boat, we are just trying to show you how skill integration works at a lower level.
Now once you have the Bitrise CodePush skill “installed” then you can simply ask your agent:
"Can you set up Bitrise CodePush in my project?”
Or, "Can you bundle a CodePush update for Bitrise?”
The AI skill will then proceed to bundle and update.
If that sounds as interesting to you as it did for us, check it out.
It’s fresh out of the oven.
👉 Bitrise CodePush Agent Skill

This deep dive was sponsored by Bitrise. If you want to see how to use CodePush with Bitrise, check out their developer documentation here.